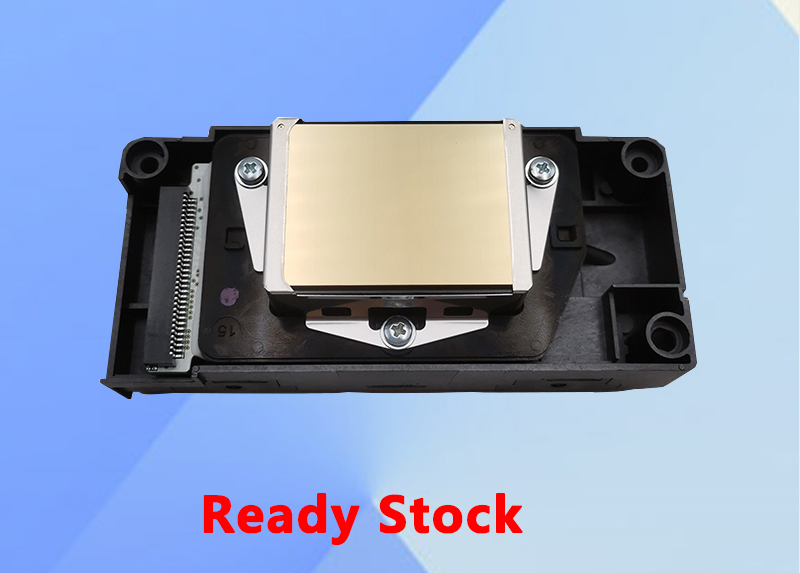
What Causes Printhead to Clog?
What Causes Printhead to Clog?
An printhead nozzle may become clogged for a number of reasons. Lack of utilization is among the most prevalent issues. The ink inside the nozzle is more likely to dry out and perhaps accumulate dust, which causes a clog, the longer the printer is left idle. By using your printer more frequently, you can avoid this.
Running the automatic cleaning cycle at least once each month also helps. Each brand of printer has cleaning cartridges that are intended to clear the printhead nozzle. For best performance, manufacturers advise using name-brand printer cartridges that correspond to the make and model of your printer.
Printers require regular maintenance to remain functional. Cleaning the printhead is one of the most crucial steps in printer maintenance. Over time, printheads accumulate dirt, dust, and ink buildup, necessitating routine cleaning. Automatic printhead cleaning systems are available on some printers, however they are not always reliable. To guarantee successful printing, you might need to physically clean the printhead.
This step-by-step tutorial will show you how to clean the nozzle in your printhead. To prevent harm to your printer while cleaning, adhere to following recommendations.

Depending on the model, instructions may change. You can find detailed instructions on printhead cleaning in your owners handbook.
Make the auto-cleaning cycle. Run your printer’s auto clean cycle as the initial step in clearing the printhead. To start the cleaning cycle, you might need to access your printer software on your computer. When the cycle is finished, try printing anything as a test. Continue to the following step if the printhead is still obstructed.
Take out the ink bottles.Take out the ink cartridges first. While you are cleaning, put them in a ziplock bag or an airtight container to prevent the ink from drying out.
Printhead nozzles should be cleaned. Apply distilled water to a microfiber towel to dampen it. Make sure to use pure water to avoid leaving behind any residue. Use a paper towel that won’t cause lint to accumulate on your printhead. Utilizing the moist cloth with caution, wipe the printhead of any dried ink.
Ink cartridges should be changed. Make sure the printer is prepared to print before reinstalling the ink cartridges.
Print a test. Print a sample to check the nozzle. You can tell if you cleaned your printhead nozzle successfully if it prints out correctly and without any issues. If not, move on to the following step.
Re-clean the area with a water. Mix half distilled water and half Windex or other glass cleaner to create a solution. Use the solution to dampen a microfiber cloth as you clean your printhead once more. Run a print test after changing the ink cartridges. The next step should be taken if the nozzle is still clogged.
Soak the printhead in water. Windex and distilled water should be combined, then the mixture should be warmed up in the microwave. Spend 10 to 15 minutes soaking your printhead nozzle in the warm water solution. Use a microfiber cloth to completely dry the printhead after drying it (this may take a few hours). Run another print test after replacing the dry nozzle and ink cartridges. For assistance, call your printhead manufacturer if the nozzle is still not printing correctly.
How to Maintain the Nozzle after Daily Work
If you notice that the nozzle is partially clogged when spraying, don’t be afraid to stop printing by pressing the pause button, and then use a syringe or a manual air pump to spray ink from the nozzle to clean it. To get rid of any leftover ink after cleaning, use a plastic squeeze bottle to spray cleaning solution onto the nozzle surface.
The digital printer's power supply should be turned off.
Pour the cleaning solution on the moisturizing sponge to wet it after cleaning it with a particular cleaning solution first.
Return the machine head to the cleaning station on the right and firmly attach the nozzle to the moisturizing sponge.
