Mastering the Art of Heat Transfer Vinyl: A Comprehensive Guide
Mastering the Art of Heat Transfer Vinyl: A Comprehensive Guide
Heat transfer vinyl (HTV) has become a changer in the world of DIY and custom apparel. This versatile material allows you to transform plain fabrics into works of art, whether you're personalizing a T-shirt, adding flair to a bag, or creating one-of-a-kind hats. In this comprehensive guide, we will walk you through the process of using HTV to achieve stunning results.
Step 1: Design Preparation
YourHTV project begins with a design. You can either craft your own using graphic design software or choose from a myriad of pre-made designs available online. Remember to mirror the image (flip it horizontally) since the design will be reversed when transferred onto the fabric.
Step 2: Material Selection
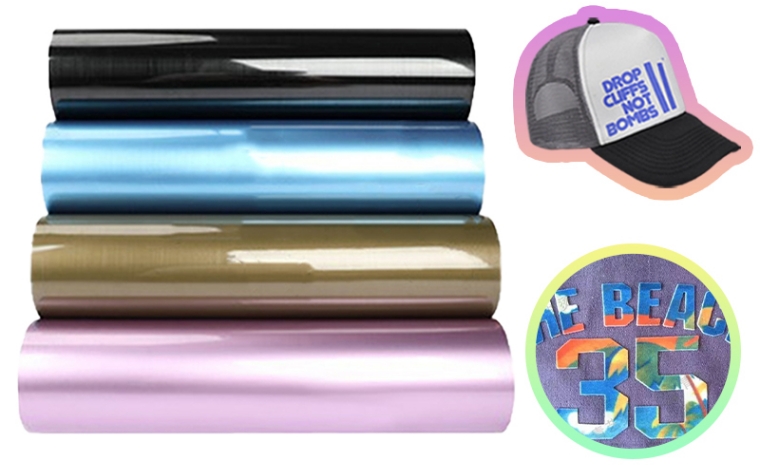
HTV comes in various types, including standard, glitter, metallic, and stretchable options. Each type has specific characteristics and application requirements. Always consult the manufacturer's instructions to ensure compatibility with both your fabric and design.
Step 3: Cutting the Vinyl
Load your chosen HTV onto a cutting machine, such as a vinyl cutter or plotter, following the manufacturer's guidelines. Adjust the machine settings, including blade depth, pressure, and speed, to match your HTV material. The machine will cut the design while leaving the excess material behind.
Step 4: Weeding
After cutting, it's time for weeding. This involves carefully removing the unwanted portions of the design, leaving only the intended design on the carrier sheet. A weeding tool will be your best friend during this process.
Step 5: Preparing the Fabric
Prepare your fabric by giving it a good wash and ensuring it's completely dry. This removes any residues and eliminates the risk of fabric shrinkage affecting the application. Smooth out any wrinkles or creases on the fabric.
Step 6: Positioning the Design
Lay the weeded HTV design on the fabric with the carrier sheet facing up. Make sure it's centered and aligned according to your desired placement. You can use heat-resistant tape or pins to secure the design in place for added precision.
Step 7: Heat Application
This step is where the magic happens. The method you choose depends on your equipment:
Heat Press: If using a heat press machine, follow the manufacturer's temperature, pressure, and duration guidelines. Typically, temperatures range from 300°F to 350°F (149°C to 177°C), and the press should last for 10 to 20 seconds. Always place a protective layer (Teflon sheet or parchment paper) over the design to prevent direct heat contact.
Household Iron: When using a household iron, set it to the appropriate temperature (usually the cotton setting) without steam. Apply a protective layer over the design, then press firmly with the iron, moving it in a back-and-forth or circular motion. Ensure even coverage and apply heat for 20 to 30 seconds.
Step 8: Cooling and Peeling
After heat application, allow the vinyl to cool for a brief period. Once cooled, gently peel off the carrier sheet from one corner. If the vinyl comes off with it, reapply heat and pressure, then attempt peeling again.
With these steps mastered, you're well on your way to becoming an HTV pro. Whether you're crafting personalized gifts or launching your own custom apparel line, heat transfer vinyl empowers you to unleash your creativity and add your unique touch to fabric surfaces. Get ready to explore the endless possibilities of this exciting medium. Happy crafting!
