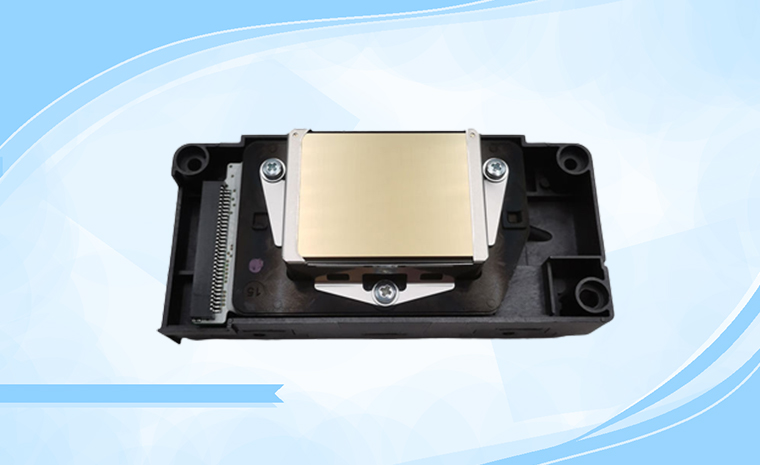
Key points of Epson print head installation
Key points ofEpson print head installation

Epson print head is currently widely used in a variety of printing machine.the impact of the print head on the printer is quite large,in the new purchase of a printer or replacement of print head must pay attention
Installation of piezoelectric printer nozzle instructions.
1. the installation of piezoelectric print head is very critical, the main reason is the print head is more expensive, more squeamish installation errors may greatly affect the normal printing of the state of the piezoelectric print head. a little careless will lead to damage to print head. So it is necessary to talk about the print head installation precautions. Be sure to follow the instructions in order to avoid unnecessary damage caused by improper operation of the print head to bring unnecessary losses.
2. before the installation of piezoelectric print head, the first to ensure that the machine is normal movement, the machine is connected to the ground is perfect, the voltage on the car is normal, the print head power supply voltage is normal. The easiest way is to use a multimeter to measure whether there is static electricity on the machine, the voltage of the car board, and the supply voltage of the print head the Epson DX5 print head supply voltage is 42V DC
3.with the software testing machine in all aspects of movement is normal, the encoder readings are normal. the indicator light is normal. Before the installation of the installer's hands to touch the conductive body for hands discharge, the operator's hand can not have perspiration or water vapor, because touch the print head line once plugged into the print head may lead to short circuit. Also remember not to wear plastic cloth that easy to cause static electricity. When installing. be sure to furn off the power and unplug the power cord.
4. generally the print head are not less than two data cable, check the thread of the plug if is tilted, if is flat. it is best to use the new cable, plug insert in the print head firmly no have any inclination. Sprinkler line thread is generally positive and negative sides. One side of the contact circuit. the other side does not touch the circuit, no error on direction. after the plug must be checked several times to confirm that there is no problem in the print head then install in the frame.
5. print head cable connection head board: first power off the machine to operate without electricity. Can not plug wrong position, the cable from print head to the corresponding position of the line must be clear and then hands-on.if hesitate or do not confirm, not tolry,must consult the manufacturer or ask for the correct plug position picture. take photo before take off the cables in addition to each line are marked. To prevent confusion when ready to plug in. Because the consequences will be very serious. once make error is very likely burn print head, the function of the print head cable are not the same. the wrong side is bound to burn. There is the direction of the thread can not be inserted out of the plug, once reverse, most likely damage print head. Must check it after plug in.
6. after all installed check three times, to confirm that there is no problem then power on,first do not start print head, with ink pump ead over the ink. and then open the print head power. if the machine only one power switch, first check the flash spray is normal flash jet normal means the installation is successful. Flashing is not normal Please turn off the power immediately to check if there is a problem elsewhere. which is in the state of new print head
7. the installation of the print head must be careful, before the installation of the work can not be less. and need to be clear
8. is also very critical to check if the print head is new
9. insert the ink damper make sure no ink drop on the cables, because the ink down the data cable will go directly into the circuit which may cause a short circuit directly burn print head.
